Image tools
The Image tools collect the work you do one image at a time. Source images are never changed; results are always saved as new files.
Adding images
- Upload files or ZIP: PNG, WebP or JPEG files, or a ZIP of them. You can also drop them on the page.
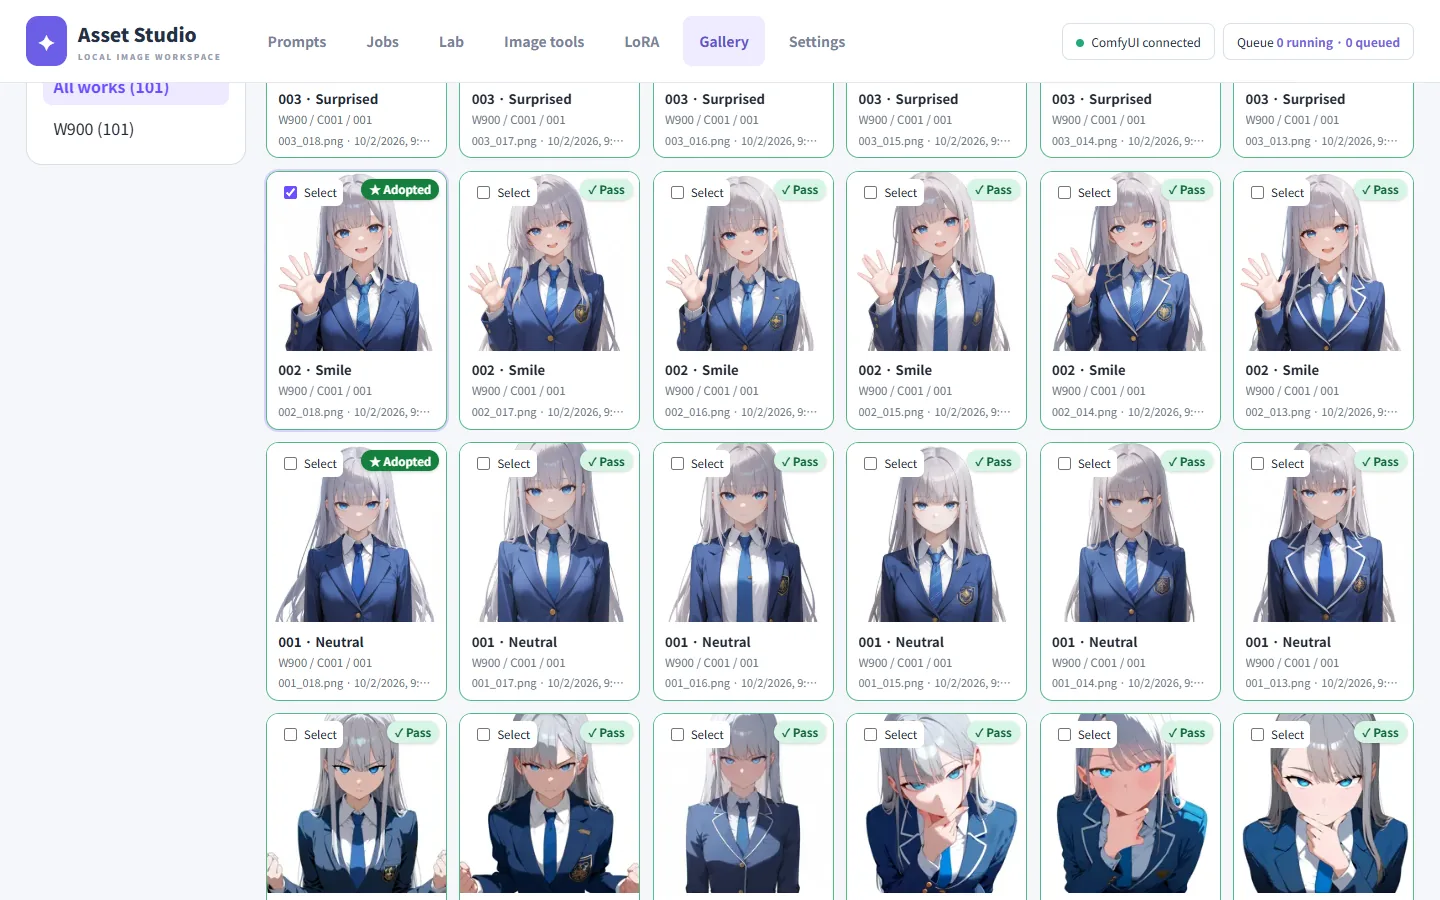
- From the gallery: choose images in the gallery and press Send to image tools.
Click an image in the list on the left to see it with how it was made. The Asset Studio record, the ComfyUI graph, A1111 parameters and EXIF are read to show the prompt and settings, and Open in Lab hands them to the lab.
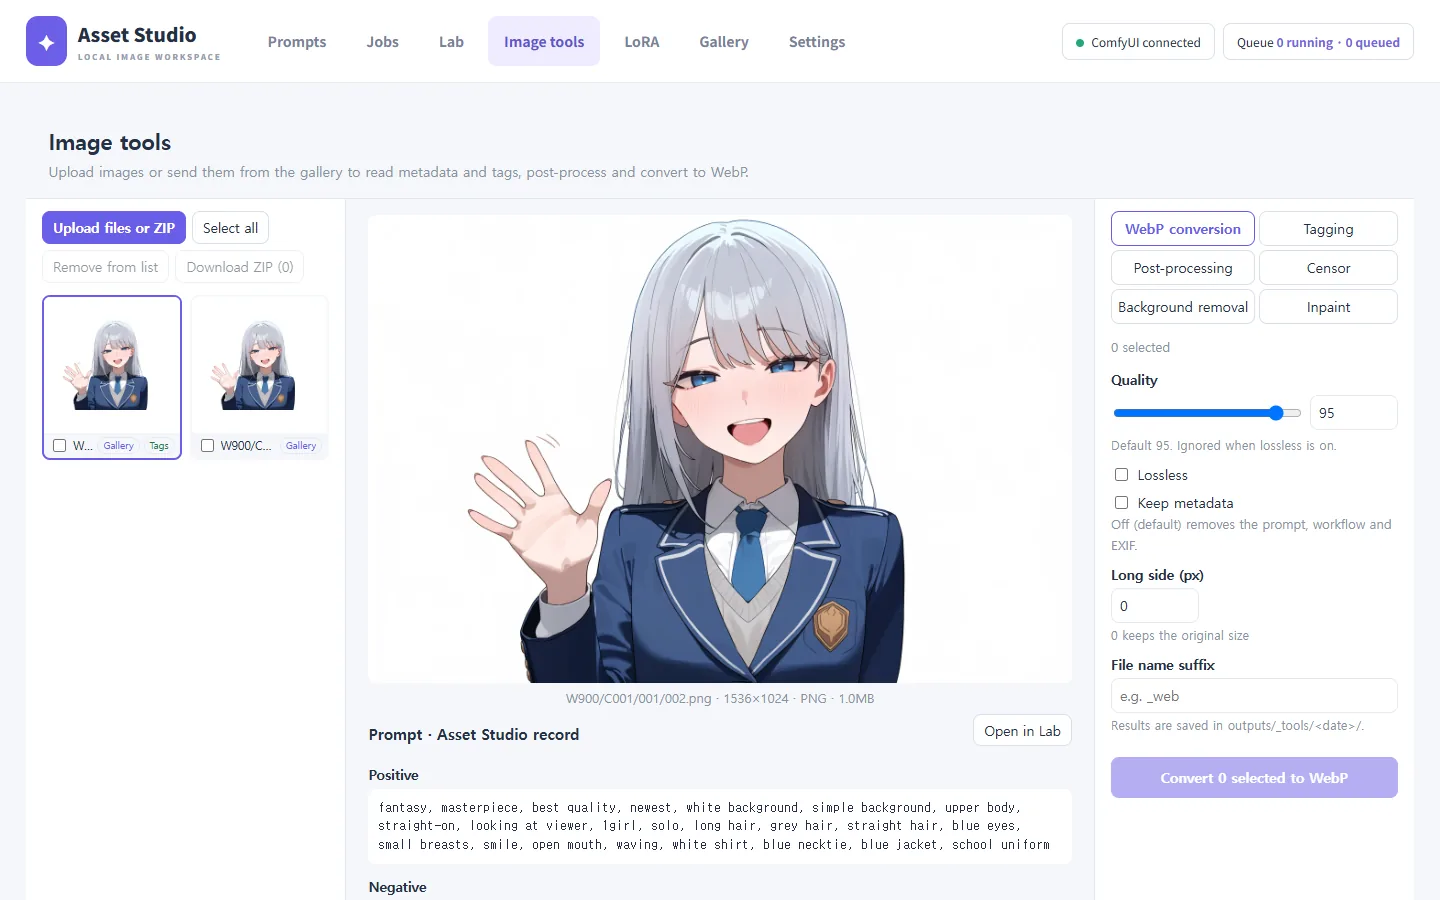
Ticked images can be downloaded at once with Download ZIP.
Where results go
- Results of work images (images in a work / character / outfit folder) are saved next to the source as new candidates. Inpainting
002.png, for example, creates002_inpaint.png; pass it in the gallery to make it the adopted image of that expression. - Results of uploaded images and lab images go to
outputs/_tools/<date>/.
Tagging
The WD14 tagger reads tags from the image and compares them with the image's prompt.
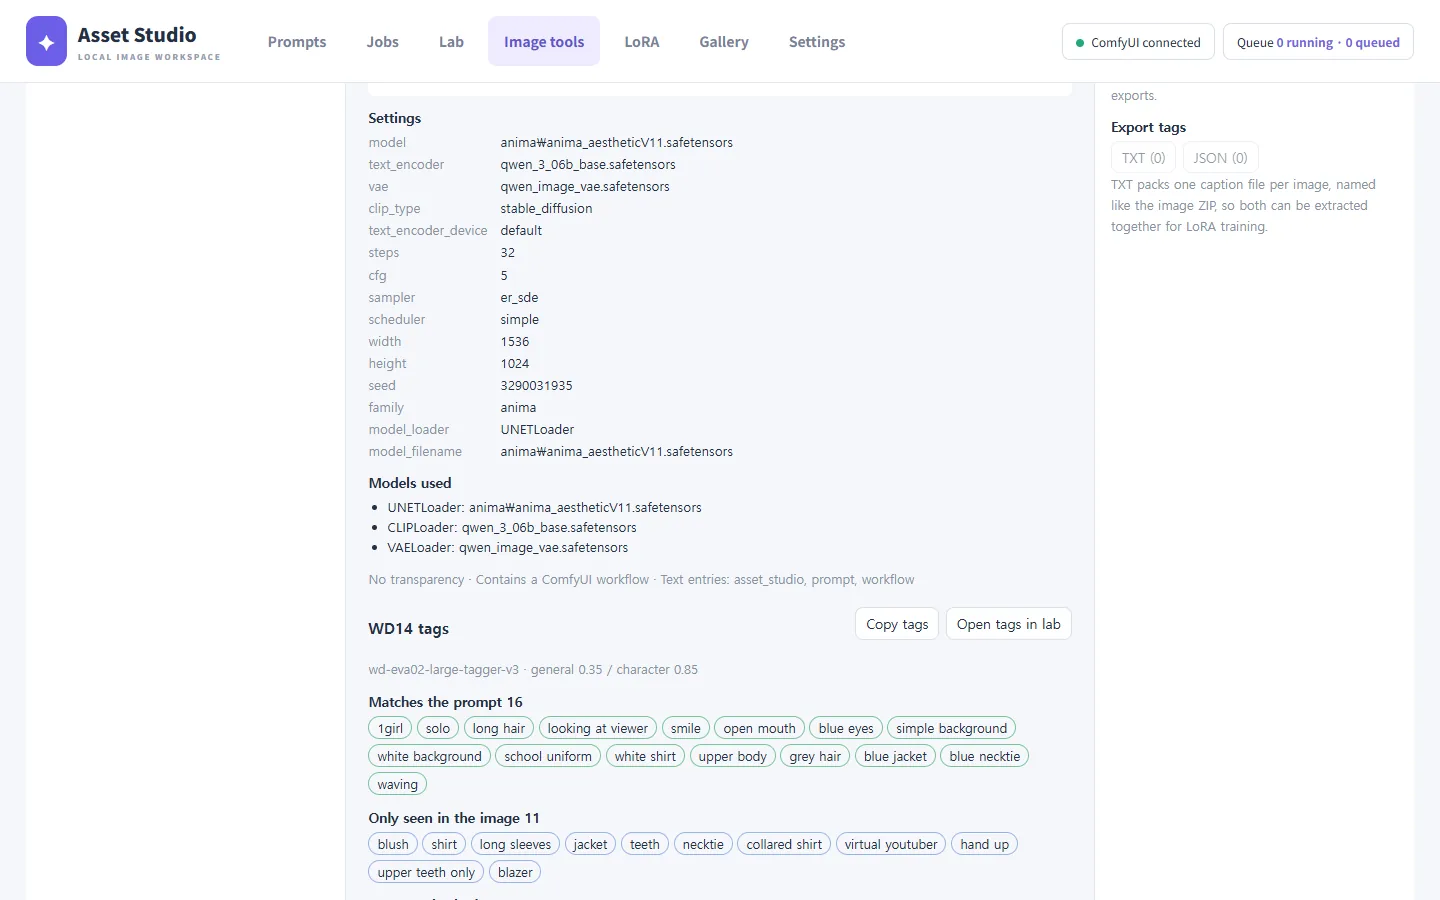
- Matches the prompt: in the prompt and seen in the image.
- Only seen in the image: not in the prompt but visible. Useful for spotting things you did not ask for.
- Not seen in the image: in the prompt but not read from the image. Either it was not drawn or the tagger does not know the phrase.
Copy tags and Open tags in lab are available. Tags listed under Excluded tags on the right are left out of the view, copies and exports. Export tags as TXT packs one caption file per image, named like the image ZIP (for LoRA training).
Tagging shares the generation queue, so it runs after images being generated.
Inpaint
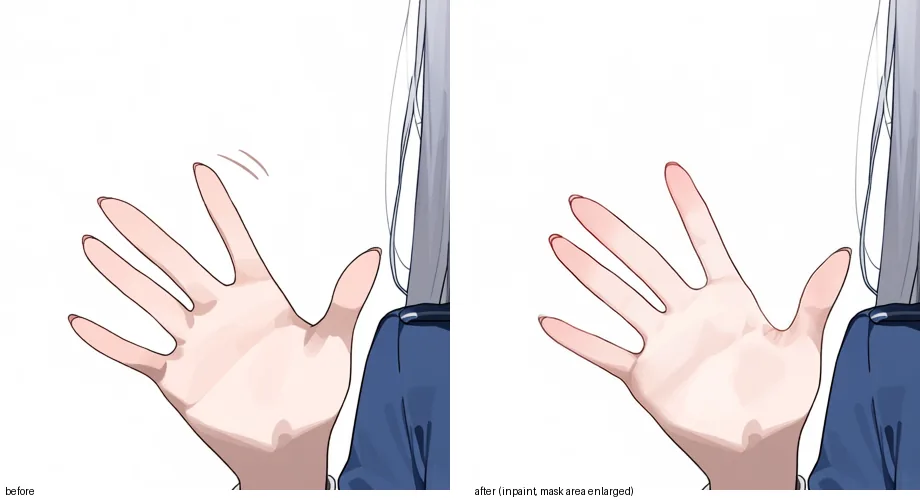
Redraws only the painted area with the image's own model, LoRAs and prompt. Use it to fix part of an image, such as a hand or a prop. It works on images made with Asset Studio (with a record).
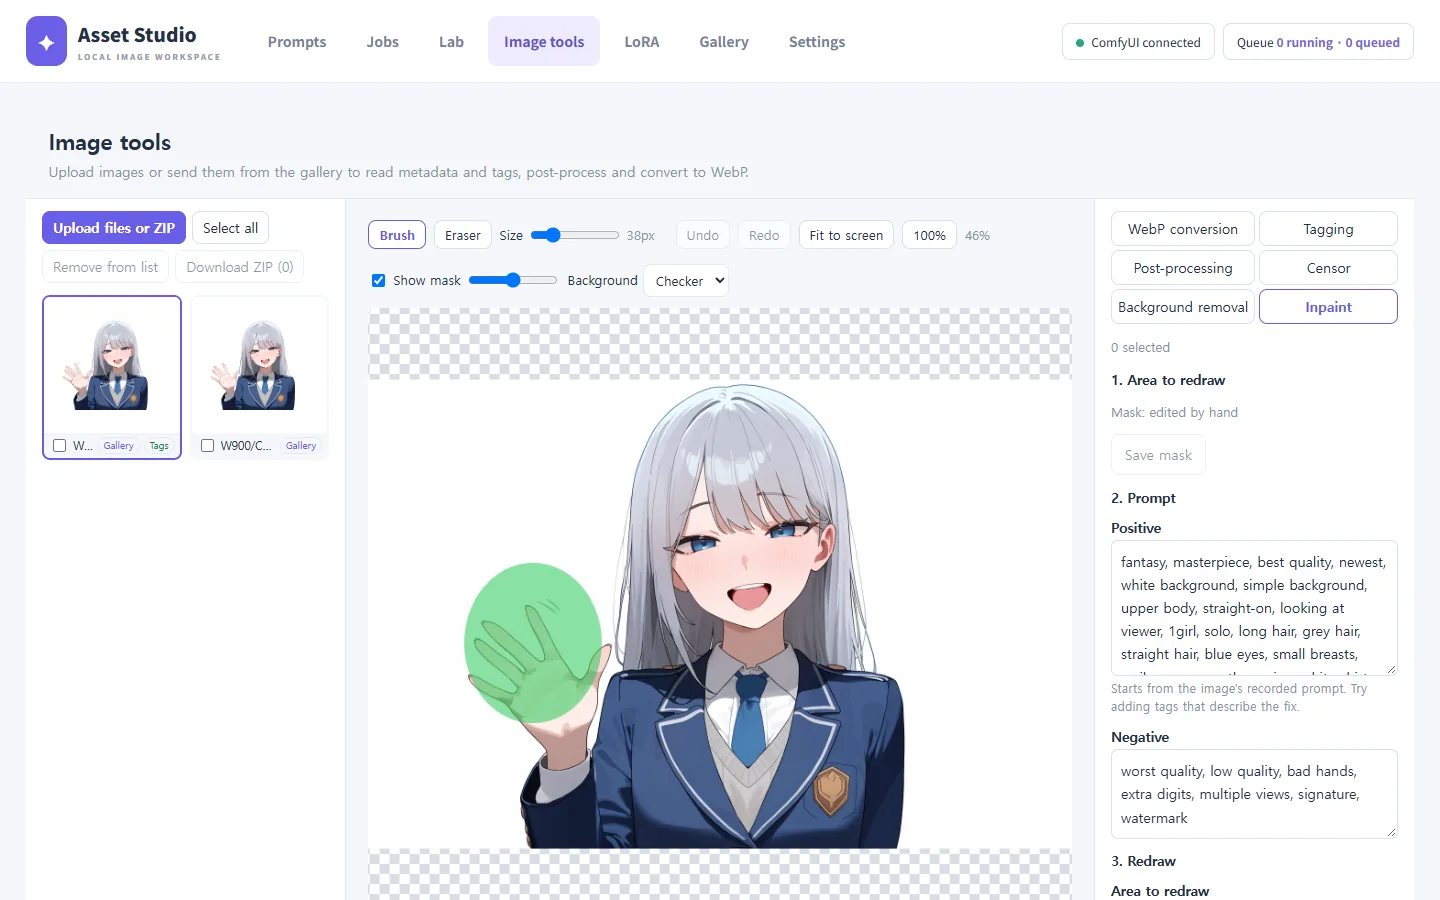
- Paint the area to redraw with the green brush and press Save mask.
- The Prompt starts from the image's record. Add tags that describe the fix if you like.
- Choose the Area to redraw:
- Mask area, enlarged (recommended): crops around the mask, redraws it enlarged to the generation size and pastes it back. Small parts such as fingers come out sharper. A wider context padding blends in better.
- Whole image: redraws at the image's own size.
- Set Denoise. Higher changes more; start at 0.5–0.7 for hands and props.
- Press Inpaint this image.
Areas you did not paint keep the original pixels.
Background removal
- Split the background: isnet-anime (for anime illustrations) or person segmentation finds the area to keep.
- Fix the mask: the blue area is kept. Add with the brush, remove with the eraser, then save. Preview result shows the cut-out right away.
- Apply: choose mask growth and edge softness and apply to save a PNG with a transparent background.
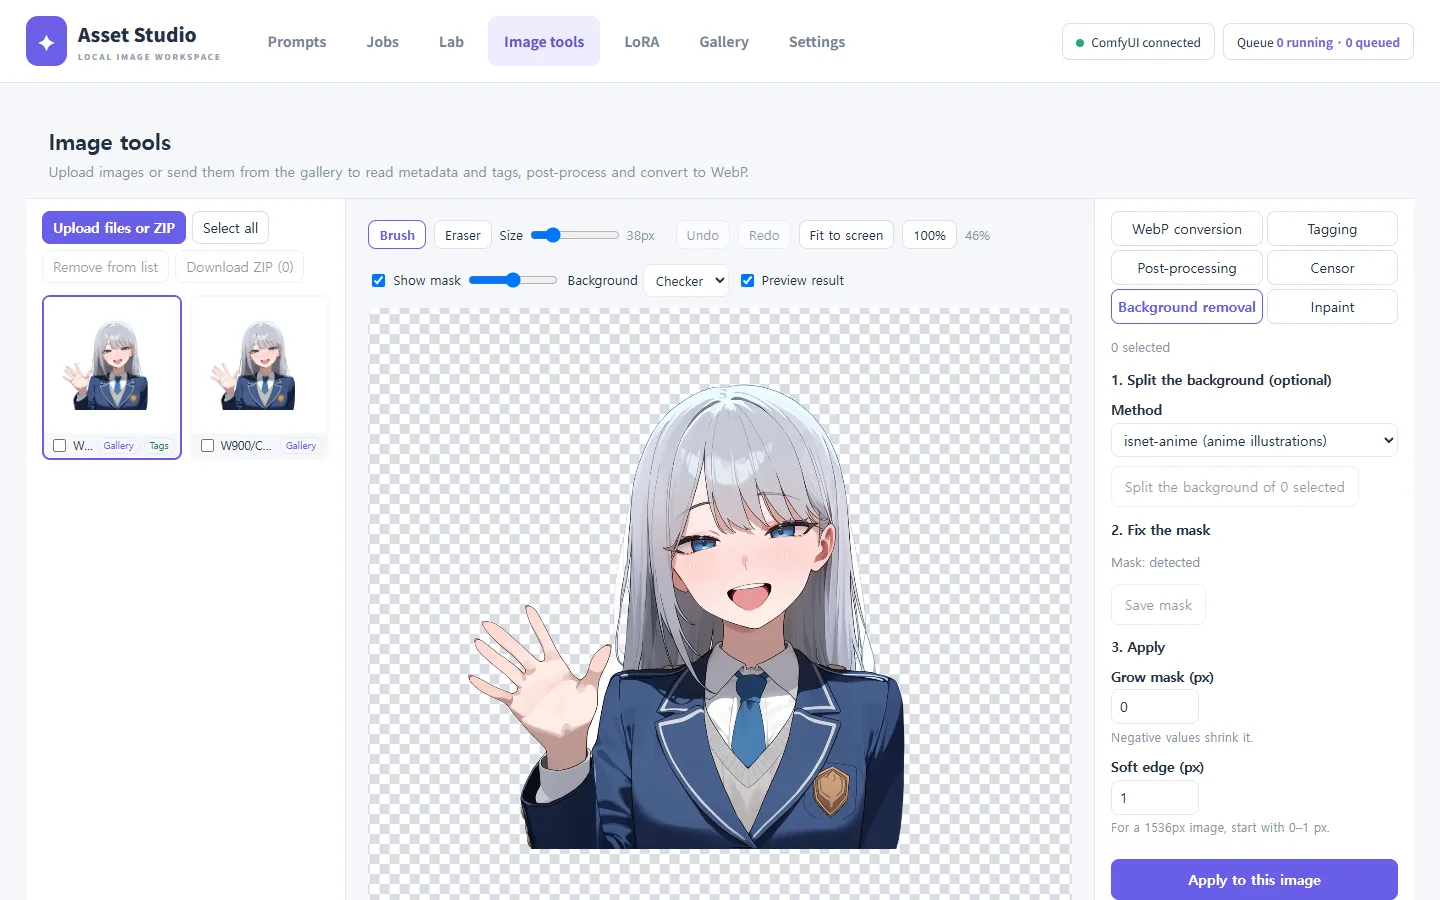
Upscaling drops transparency, so remove the background after upscaling.
Censor
- Detect areas (optional): finds the areas to cover automatically. It can miss some, so always check.
- Fix the mask: the red area is covered. You can also paint it without detection.
- Apply: choose mosaic, blur or a solid colour, with strength, colour, mask growth and edge softness.
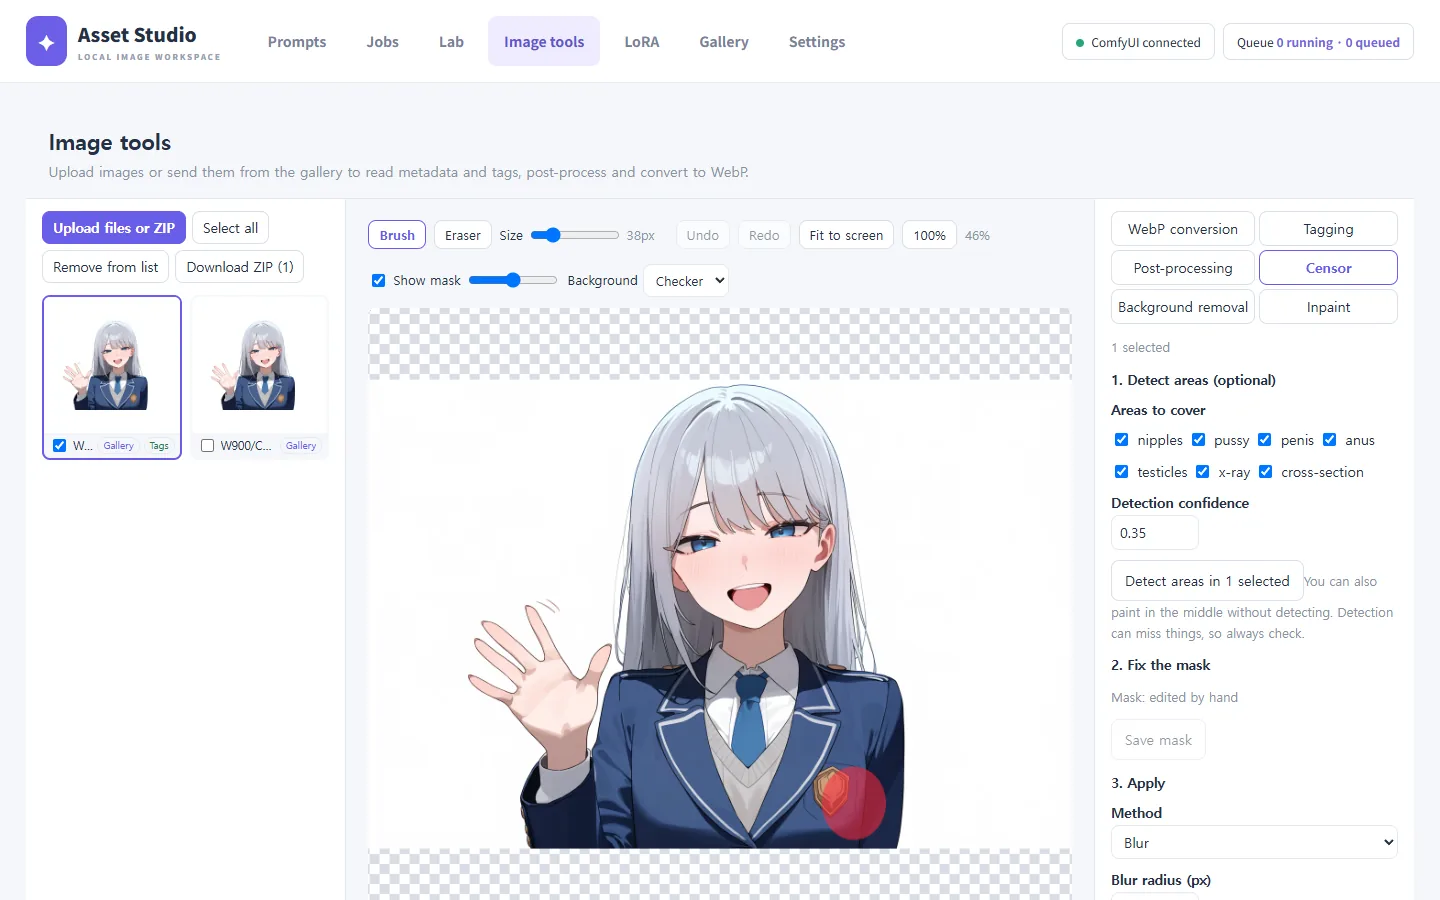
Censor and background removal can be applied to several images at once with the "apply to the chosen images with a mask" button; each image uses its own saved mask.
The mask editor
Inpaint, background removal and censor share one editor.
| Action | How |
|---|---|
| Brush / eraser | B / E |
| Brush size | [ / ] or the size slider |
| Undo / redo | Ctrl+Z / Ctrl+Y |
| Zoom | Mouse wheel |
| Pan | Drag with Space held, or with the middle button |
| Fit / 100% | 0 / 1 |
Show mask and its opacity slider hide or fade the mask; Background picks what shows behind transparent areas (checker, white or black).
Post-processing
- Upscale: enlarges with an upscale model and matches the final scale you set.
- Detailer (experimental): finds faces, eyes, mouths and hands and redraws them with the image's own model. Faces can change, so check the result.
WebP conversion
Converts to WebP with quality, lossless and long-side options. Keep metadata is off by default, so shared files carry no prompt or workflow.